


Hello Nicola
This is a sample piece of news or blog. You never need to edit the page that the blog is showing on under classes. Rather you go directly to POSTS on the dashboard and go to ADD NEW or if you want to go back and edit an existing news/blog item then click on ALL POST and cursor over the relevant post title where you see the word edit. Click on EDIT and make your changes.
1) Put the title in. (Title Box Above) The title here is Hello Nicola
2) Write your text here as I have done in this Editor Box
3) IMPORTANT Alway choose the category so you can send the post to the relevant class page. Categories can be seen to the right of this text editor. You can see I have checked the Nursery Blog category. If you want this news item to appear on the homepage also check the Featured News category, Featured News simply means it will appear on the homepage.
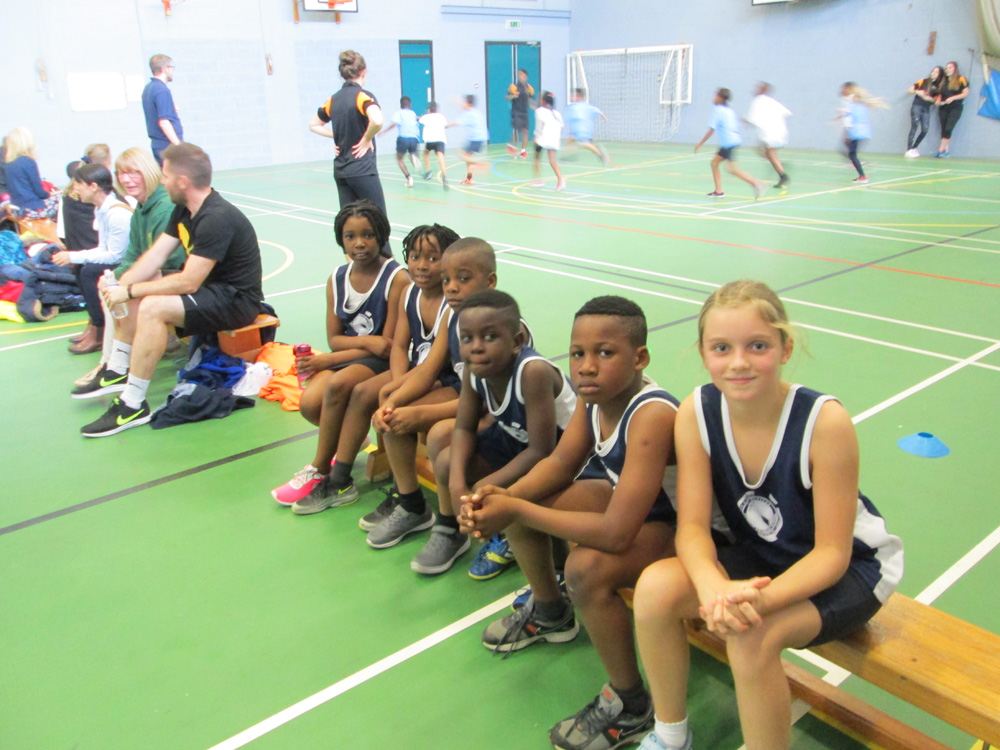
4) Next just under Categories and Tags (ignore Tags) you can see Featured Image. So if you have a picture to go with the news item this is where you put it in. i.e. Click on Set Featured image. It says Remove Featured image at the moment as I have put a picture in, but if I hadn’t it would say Set Featured Image. Try removing it and setting it again. It takes you to the Media LIbrary where you can choose the picture you want. Click on relevant picture and then Set Featured IMage (BIG BLUE BUTTON – bottom right of media LIbrary).
I WOULD NEVER USE THE ADD MEDIA BUTTON (see just above this text box) When you add images this way they go all over the place and it looks a mess – always the Featured Image.
5) When you are done ALWAYS REMEMBER to press PUBLISH. That is the big blue button in top right column. It say UPDATE on this one as I have obviously already published this post.